
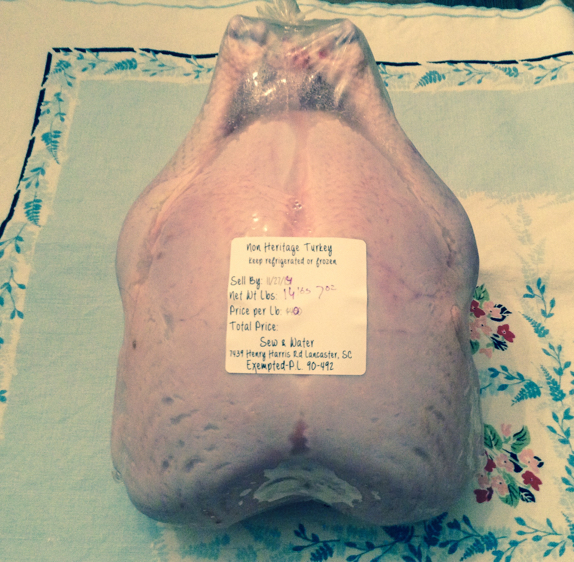
Being that Thanksgiving is this week and we just harvested our turkeys, we would like to share some ideas on how to prepare those turkeys. I think there are a few things that make a turkey great. Salty flesh, crispy skin, and, most important: excellent gravy. If you have great gravy, nobody will know that you over cooked your turkey. Let's talk about how to get these things to happen.
First, salty flesh. If you put salt on your bird right before it goes in the oven, the salt is not going to actually get into the meat. It'll just sit up on top of the skin and, for the most part, get wasted. We need the salt in the meat. I like to do that by dry brining. All you need is 1 teaspoon of kosher salt per pound of turkey and a big bag. Cover the outside of the bird with salt and the inside cavity. Focus more of the salt and your effort on the inside. That's where it gets to the meat better. Put the turkey in a bag and try to get most of the air out of the bag. The salt will draw out some of the liquid in the turkey and eventually, the turkey will reabsorb it. Now, the meat is salty all the way through. You'll want to leave this in the fridge for at least a day and a half to make sure the reabsorption takes place.
Now to the crispy skin. Ever notice how a fried turkey has great skin? That is precisely what you want. Roasting and frying are both considered dry cooking methods. Wet cooking will not get you crispy skin. So, we need a dry environment and fat. Here's how I do it. Soften up some butter. You can add herbs or spices to the butter if you like it. Mash it all up good and slip it underneath the skin. You'll have to kinda fight your way under there a little but remember, the turkey's already dead and you can't hurt it so be aggressive. Once you get some butter under there(I use about a half pound) put the bird on a rack in a roasting pan and dry it off real good. Remember, moisture makes rubbery skin. Leave it set on the counter for it to come up to room temperature. Now, as it is roasting, baste it with a little more butter. This is combining roasting the meat with frying the skin. The best of both worlds. If the skin gets too dark before the turkey reaches 165 degrees in the thickest part of the thigh, just put some foil on the dark part and it'll quit.
Here we are at the most important part, turkey gravy. You'll need just a few things to make great gravy. Turkey stock (chicken stock if you don't have turkey stock), butter, flour, and the drippings from the turkey after it has cooled for a while. The stock can come from the neck and the butter from the roasting pan. I'll try to give a quick rundown of how I do it {for help with making stock you can read more here}.
When the turkey comes out of the oven, I immediately take it off of the rack and put it on a platter with sides to catch the juices. I dump the roasting pan into a pot and start to simmer it until all the moisture is evaporated and I'm left with just fat. Now, here is a gravy ratio for you to remember. 1 part roux to 10 parts stock. Roux is equal parts fat and flour. So, if you have 50 ounces of stock, you'll use 2.5 ounces of butter and 2.5 ounces of flour to make 5 ounces of roux. Let's assume these are our quantities. Back to the fat in the pot. Take out all but 2.5 ounces of fat and add the flour. Stir and cook over medium heat until it smells kinda nutty. At this point, add some hot stock to the roux a little at a time. So, you'll add stock, stir until it thickens and then add some more. At about the halfway point, you can go ahead and add the rest. Bring to a full boil and reduce to a real slow simmer. This is important, cook for at least 1 hour stirring occasionally. This is to cook the flour so it doesn't taste starchy but sweet. When it's done, add the juice from the turkey and season. You can also add herbs or whatever you like.
This is just how I like to cook my turkey but there are an infinite number of ways that are probably just as good. Just remember though, this holiday is about being thankful that we can have a warm, dry place to sit and eat our meals in a free country. Here's wishing y'all a happy thanksgiving day.
-Robert
{words from Robert but this pic is definitely from Erin}
 RSS Feed
